
3D Printing in Education
A Primer for Educators
Taking STEM Learning from
Concept to Creation
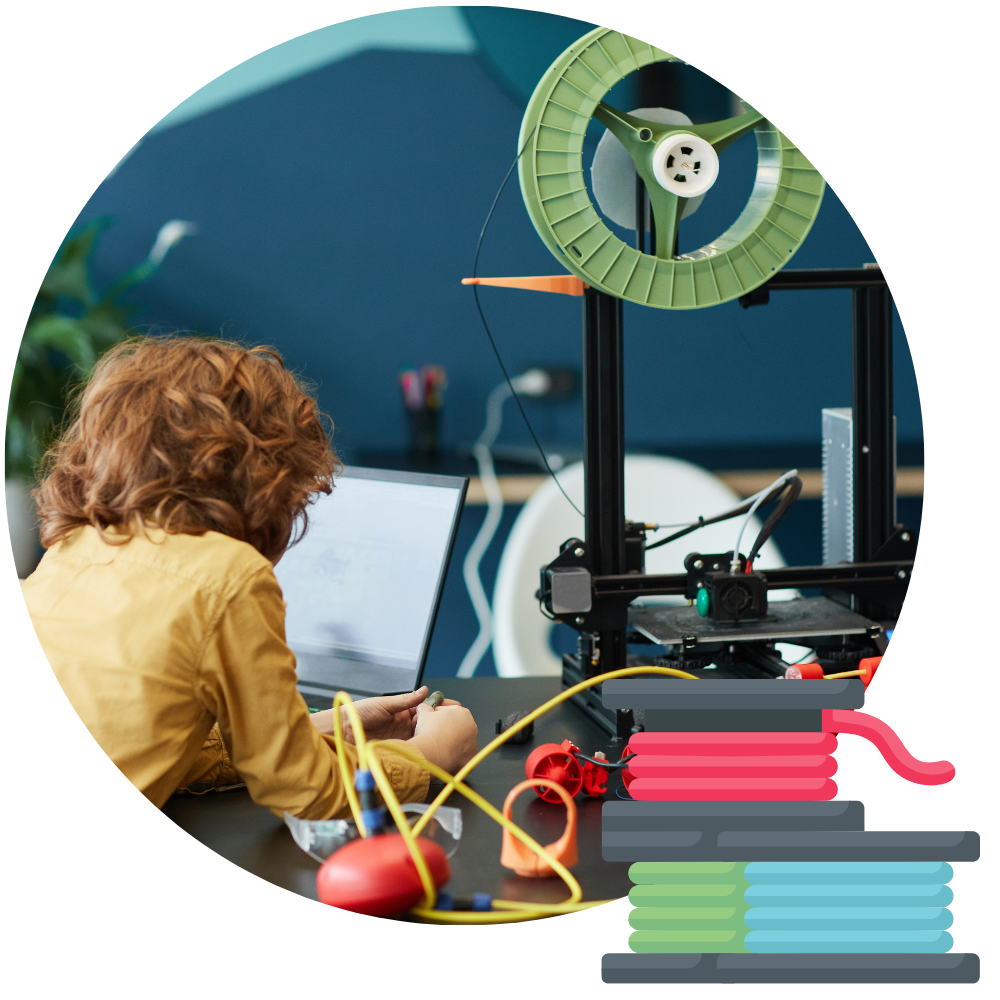
A mainstay in any makerspace, 3D printing makes learning tangible for students. This dynamic tool helps primary and secondary students expand their technological literacy, sharpen their hands-on problem-solving skills, and explore their own creativity through trial and error.
3D printing integrates well into K-12 classrooms and libraries. This primer offers teachers, librarians, and curriculum leaders a simple starting point for understanding:
-
-
- The 3D printing process in practice, from designing to production
- Key factors for purchasing 3D printers and 3D printing supplies
- How to incorporate 3D printing into a STEM or interdisciplinary curriculum
-
3D Printing Process
Before you can teach 3D printing, you need to understand the basics of turning a digital 3D model into a physical 3D object. These steps offer an overview applicable to use with most 3D printing set-ups.
Step 0: Preparation

Preparation is key to successful 3D printing, whether it’s your first time or your 500th print.
Tools
First, gather the tools you’ll need for the entire production process. In addition to your 3D printer unit, these tools are vital* for ensuring your production runs smoothly and that you get the best possible result.
*You don’t necessarily need to invest in all of these tools all at once. Schools can make the most of available resources by build up their collection over time.
Software
3D printing requires several different types of software. These include:
- Computer-aided design (CAD) program like Tinkercad, Sketchup, or Fusion 360
- A slicer program, such as Cura or Prusaslicer
Reminder: always consult with your district’s IT team before installing new software. You may need permission from your IT team before you are able to install new software on a school-owned device.
Step 1: Design

To start, use a computer-aided design (CAD) program to design a digital 3D model.
- If this is your first time, try modeling a simple, geometric object (like a ball or a cube). You can also download a pre-made model from an online repository like Thingiverse or Printables.
- If you’re trying to model a specific real-world object, try using a 3D scanner device in conjunction with your CAD program.
CAD Tools to create 3D Models
- Tinkercad: most student- and teacher-friendly, no account required, SOPPA compliant
- Onshape: great for grades 6-12, more advanced modeling features, SOPPA compliant
- Sketchup: upper middle school and older
- Fusion 360, Blender, Freecad: high school specialty & advanced classes
When your model is complete, export it as a .stl file
Step 2: Slice

Your 3D printer can’t read a .stl file directly, so you first need to prepare the file for printing using a slicer software.
These programs import the .stl file and “slices” the model into fine horizontal layers. From here, you’l also indicate print settings such as size, orientation, speed, quality, etc.
The output from the slicer program is a G-code file of type (.gcode). This contains instructions for the printer on how to move and lay down material to build your model one layer at a time, from the bottom up.
Choosing a Slicer
Excellent free, open-source slicers include Cura or OrcaSlicer, which work with most 3D printers.
Note: some brands (including Bambu Studio, Prusaslicer, Elegoo Slicer, Flashforge Flashprint, and Makerbot CloudPrint) require you to use their own proprietary slicer software for full compatibility.
Slicing Setting Checklist
- Choose the correct 3D printer brand / model.
- Choose the correct filament type. (PLA, PETG, etc)
- Choose the layer height. (larger lines = faster print times, but lower quality)
- Size, scale, and orient your object correctly.
- Check for unsupported overhangs, and add supports as needed.
- Add any bed adhesion features, like a brim or raft.
- Choose your infill type and style. Less is more – only use what is needed!
- Slice the file and inspect it layer by layer, from the bottom up.
- Check the print time and filament usage and ensure you have enough material.
- Download the G-Code. Depending on the printer model, you may need to use USB, SD, MicroSD, or Wi-Fi to transfer G-code from your computer to your printer.
Step 3: Print

Once the .gcode file is loaded into your printer, prepare the printer by following these steps:*
-
-
- Clean the print surface with 90%+ isopropyl alcohol and a microfiber cloth.
- Heat up the nozzle and bed for the material you’re using (PLA: ~210° / 60°C; PETG: ~235 / 70)
- As needed, home the printer, check your z-offset, and level the bed.
- Load the filament you plan to use.
- Purge some filament to ensure flow of correct color.
- Load / select the g-code file.
- Start the print.
- Watch that first layer go down – it will determine the success of your print! If it doesn’t go down cleanly, don’t hesitate to cancel the print and make adjustments before trying again.
- Many printers let you adjust the z-offset while printing. This refers to the distance the nozzle is from the print surface. You’ll need to get it just right to get your material to adhere to the bed.
-
*Note: some printers automate several of these steps for you in the menu while others require you to do these steps completely manually.
Preparation is key to successful 3D printing, whether it’s your first time or your 500th print.
Tools
First, gather the tools you’ll need for the entire production process. In addition to your 3D printer unit, these tools are vital* for ensuring your production runs smoothly and that you get the best possible result.
*You don’t necessarily need to invest in all of these tools all at once. Schools can make the most of available resources by build up their collection over time.
Software
3D printing requires several different types of software. These include:
- Computer-aided design (CAD) program like Tinkercad, Sketchup, or Fusion 360
- A slicer program, such as Cura or Prusaslicer
Reminder: always consult with your district’s IT team before installing new software. You may need permission from your IT team before you are able to install new software on a school-owned device.
To start, use a computer-aided design (CAD) program to design a digital 3D model.
- If this is your first time, try modeling a simple, geometric object (like a ball or a cube). You can also download a pre-made model from an online repository like Thingiverse or Printables.
- If you’re trying to model a specific real-world object, try using a 3D scanner device in conjunction with your CAD program.
CAD Tools to create 3D Models
- Tinkercad: most student- and teacher-friendly, no account required, SOPPA compliant
- Onshape: great for grades 6-12, more advanced modeling features, SOPPA compliant
- Sketchup: upper middle school and older
- Fusion 360, Blender, Freecad: high school specialty & advanced classes
When your model is complete, export it as a .stl file
Your 3D printer can’t read a .stl file directly, so you first need to prepare the file for printing using a slicer software.
These programs import the .stl file and “slices” the model into fine horizontal layers. From here, you’l also indicate print settings such as size, orientation, speed, quality, etc.
The output from the slicer program is a G-code file of type (.gcode). This contains instructions for the printer on how to move and lay down material to build your model one layer at a time, from the bottom up.
Choosing a Slicer
Excellent free, open-source slicers include Cura or OrcaSlicer, which work with most 3D printers.
Note: some brands (including Bambu Studio, Prusaslicer, Elegoo Slicer, Flashforge Flashprint, and Makerbot CloudPrint) require you to use their own proprietary slicer software for full compatibility.
Slicing Setting Checklist
- Choose the correct 3D printer brand / model.
- Choose the correct filament type. (PLA, PETG, etc)
- Choose the layer height. (larger lines = faster print times, but lower quality)
- Size, scale, and orient your object correctly.
- Check for unsupported overhangs, and add supports as needed.
- Add any bed adhesion features, like a brim or raft.
- Choose your infill type and style. Less is more – only use what is needed!
- Slice the file and inspect it layer by layer, from the bottom up.
- Check the print time and filament usage and ensure you have enough material.
- Download the G-Code. Depending on the printer model, you may need to use USB, SD, MicroSD, or Wi-Fi to transfer G-code from your computer to your printer.
Once the .gcode file is loaded into your printer, prepare the printer by following these steps:*
-
-
- Clean the print surface with 90%+ isopropyl alcohol and a microfiber cloth.
- Heat up the nozzle and bed for the material you’re using (PLA: ~210° / 60°C; PETG: ~235 / 70)
- As needed, home the printer, check your z-offset, and level the bed.
- Load the filament you plan to use.
- Purge some filament to ensure flow of correct color.
- Load / select the g-code file.
- Start the print.
- Watch that first layer go down – it will determine the success of your print! If it doesn’t go down cleanly, don’t hesitate to cancel the print and make adjustments before trying again.
- Many printers let you adjust the z-offset while printing. This refers to the distance the nozzle is from the print surface. You’ll need to get it just right to get your material to adhere to the bed.
-
*Note: some printers automate several of these steps for you in the menu while others require you to do these steps completely manually.
Purchasing a 3D Printer & Supplies
Which 3D printer should you get for your classroom? That depends on several factors, ranging from price and quantity to your learning goals and plans integrating this dynamic technology.
Keep these factors in mind as you compare models and purchase 3D printing supplies:
Keep these factors in mind as you compare models and purchase 3D printing supplies:
Price
Price is often the linchpin factor to consider, especially if you are working within a limit budget. In 3D printer units, price often relates to the number of features that model offers; higher price tags often come with more robust features. There are several high-quality, user-friendly models for under $500 available. Larger printers and those with extra features like multicolor and expanded material options will cost in the $800-$1,500 range.
However, unit price does not necessarily equate to best quality or ease of use. Always plan decisively and strategically for what kind of printing you’ll be doing. Often, multiple smaller printers with good quality and speed are more are a more impactful choice than a single higher-end printer with functionality you may not need regularly.
Reminder: Leave room in your budget for filament, tools, storage, and extra parts.
Quantity
Depending on your intended application, you may need to factor in quantity as a multiplier for your chosen 3D printer’s price.
It is likely you will need multiple printers in order to meet the needs of full classes of students. Remember that print jobs can take anywhere from minutes to several hours. In the event a printer has a technical problem, you’ll be glad to have more units available that can keep running jobs.
Budget with a suitable balance of quality and quantity of printers in mind.
Features, Functions, and Ease of Use
When possible, gather and compare information on each printer’s interface and the built-in functions they offer. Desired features are up to personal preference, but these are often most prized for 3D printing successfully in an educational setting. Most will save teachers a lot of time and effort while running multiple jobs per day:
- User-friendly navigation
- Heated and removable bed
- Bed-leveling and filament loading automation,
Reminder: Determine if the printer requires proprietary software or filament, and weigh the pros and cons of this approach versus an open-source printer.
Support from Manufacturer and Community
Much like purchasing a car, on-going support availability for your 3D printer can go a long way toward making your investment pay off.
This is especially true when comparing brands. The level of support and response rates varies wildly between printer brands. Do your due diligence to determine which companies will stand behind their product and respond to your requests for help.
Often, online communities can provide useful insights based on their own experiences. Remember that once your school is invested in this technology, someone will need to be in charge of troubleshooting, repairing, and being knowledgeable about them. No matter who wears that hat, they should be equipped with connections that can support long-term successful implementation.
Open vs. Enclosed
3D printers primarily come in two form factors: open and enclosed. Enclosed units utilize a box-like structure that fully enclose the moving parts when in operation. Open units forgo that enclosure, reducing their overall size and bulk.
Both types see use in educational settings, though enclosed models come with these advantages and disadvantages:
Advantages:
- Protection from hot and moving parts
- Maintain needed ambient temperature more consistently
- Quieter and less smell from melting plastic
- Can be easier to carry and fit into tight spaces
Disadvantages:
- Students see less of the inner workings of the machine
- More difficult to access internal parts for maintenance, repair, or part replacement
- Can be bulkier and heavier for transportation
Availability of Replacement Parts & Supplies
In time, your 3D printer will definitely need additional supplies (especially more filament) and may eventually require replacement parts.
When comparing models and brands, be sure to research the cost and availability of their replacement parts. Depending on your budget, you may also price out the cost of supplemental filament and where you plan to source it from.
Learning Goals
Even if you select the most high-end, feature-packed 3D printer and get it at a bargain, you may end up dissatisfied with your purchase if you factor in your learning goals early in the evaluation process.
Specifically, consider how often your 3D printer will be used and how it will be connected to your curriculum. You may choose to delineate how your new 3D printer will enhance standards-based learning (for example, 3D design on a computer can reinforce math concepts like coordinate planes, geometry, area, perimeter, and volume.) Some models come paired with curriculum supports and resources, making integration more streamlined for educators.
Training is also a crucial step toward successful technology integration. The LTC’s professional development team can support a team or district’s use of 3D printers through customized workshops, hosted in person or virtually. Popular 3D printing trainings include:
-
-
- Get Your Print On: 3D Printing for Beginners
- Bring 3D Printing into your Classrooms
- 3D Printing: Creative Design and Problem Solving
-
Brands Other Educators Have Had Success With
Note: Inclusion in this list does not represent a recommendation for or endorsement of these brands by the Learning Technology Center. Each brand offers features, price points, and support that K-12 educators we have worked with have found productive.
- Prusa
- Flashforge
- Bambu
- Lulzbot
- Anycubic

Save with Cooperative Purchasing
Have 3D printers or 3D printing supplies on your shopping list? Save your district time and money by purchasing through the LTC Purchasing Program.
Members get free quotes, transparent pricing, and up to 50% savings on numerous pre-negotiated contracts covering popular CTE and technology catalogs.
Become a member or visit the Marketplace to get started →
Teaching with 3D Printing
3D printers are a catalyst for student creativity, experimentation, and interest in STEM pursuits. But they can’t sharpen students’ hands-on skills on their own.
These resources support meaningful 3D printing integration into the curriculum, including at different grade levels.
Disclaimer: Inclusion in this collection does not represent an endorsement of a resource’s efficacy by the Learning Technology Center.
These resources support meaningful 3D printing integration into the curriculum, including at different grade levels.
Disclaimer: Inclusion in this collection does not represent an endorsement of a resource’s efficacy by the Learning Technology Center.
Projects & Lesson Plans
Projects
- Tinkercad Tutorials & Starter Projects
- Print the Periodic Table
- Print a City
- Print a Board Game
- Print a Mini-Golf Course
Project Libraries & Collections
- Thingiverse Education
- Tinkerine U Platform
- Makerbot Learning Collection
- Kathy Schrock’s Guide to Everything
Where to Find STL Files*
- Free: Printables, Thingiverse, Makerworld
- Free and Paid: Yeggi & Cults3D (not kid-friendly) *Remember when searching for files: Read the details (suggested settings, which files to print, tips, etc.) and check the comments for feedback
Curriculum Guides
Curriculum Guides
Slide Decks
Printing Guides & Technical Documents
Insights on Elegoo Centauri Carbon 2, TinkerCad, Makerlab from Bambu, selecting and using filaments, multi-color printing, supports, and more.
3D Printing Startup Guide for Educators
Basics of setting up a 3D printer for educational use, including tools, maintenance, configuration, and tips for use
What is 3D Printing and How Foes It Fit in the Classroom?
Basics on how 3D printing works and how it can be successfully integrated into a K-12 educational setting
Labeled diagram of components, with definitions about function
3D Printing: Design, Slice, and Create with the Elegoo CC2
Basics on how 3D printing works and how to set up and configure an Elegoo Centauri Carbon 2.
3D Printing Bed Adhesion Guide
Factors to consider while fine-tuning your printer’s adhesion.
Professional Development
Custom PD for School Districts
The Learning Technology Center offers customized in-person and virtual trainings for districts eager to make full use of their 3D printers. Our team can also help your district develop impactful 3D printing curriculum, including as part of an engaging makerspace.
Popular Workshops
- Get your Print On: 3D Printing for Beginners
- Tinker, Print, Teach: Bringing 3D Design to Life in your Classroom
- The Makerspace Starter Kit
- Building the Future, One Layer at a Time
Projects
- Tinkercad Tutorials & Starter Projects
- Print the Periodic Table
- Print a City
- Print a Board Game
- Print a Mini-Golf Course
Project Libraries & Collections
- Thingiverse Education
- Tinkerine U Platform
- Makerbot Learning Collection
- Kathy Schrock’s Guide to Everything
Where to Find STL Files*
- Free: Printables, Thingiverse, Makerworld
- Free and Paid: Yeggi & Cults3D (not kid-friendly) *Remember when searching for files: Read the details (suggested settings, which files to print, tips, etc.) and check the comments for feedback
Curriculum Guides
Slide Decks
Insights on Elegoo Centauri Carbon 2, TinkerCad, Makerlab from Bambu, selecting and using filaments, multi-color printing, supports, and more.
3D Printing Startup Guide for Educators
Basics of setting up a 3D printer for educational use, including tools, maintenance, configuration, and tips for use
What is 3D Printing and How Foes It Fit in the Classroom?
Basics on how 3D printing works and how it can be successfully integrated into a K-12 educational setting
Labeled diagram of components, with definitions about function
3D Printing: Design, Slice, and Create with the Elegoo CC2
Basics on how 3D printing works and how to set up and configure an Elegoo Centauri Carbon 2.
3D Printing Bed Adhesion Guide
Factors to consider while fine-tuning your printer’s adhesion.
Custom PD for School Districts
The Learning Technology Center offers customized in-person and virtual trainings for districts eager to make full use of their 3D printers. Our team can also help your district develop impactful 3D printing curriculum, including as part of an engaging makerspace.
Popular Workshops
- Get your Print On: 3D Printing for Beginners
- Tinker, Print, Teach: Bringing 3D Design to Life in your Classroom
- The Makerspace Starter Kit
- Building the Future, One Layer at a Time